Layout has some landforms
Latest progress on the UP St. Marshall Sub
Steven H.
9/1/20243 min read
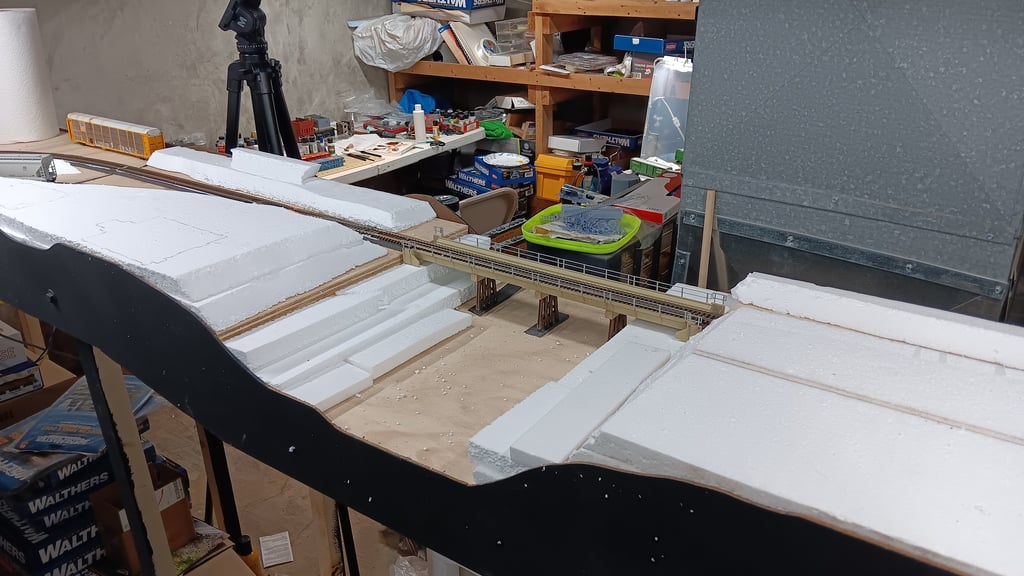
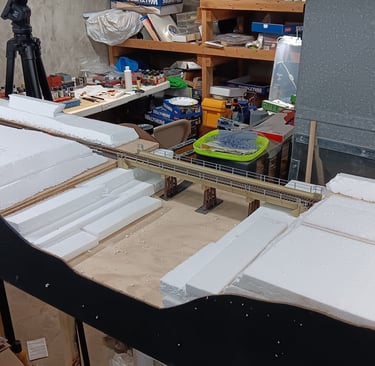
Landforms are a big step on a layout. They mark the transition from Plywood Prairie to Rugged Central. At this point, the layout starts to take on some personality. Instead of just describing your planned mountain range to visitors, they can see how grand your peaks will be, or how deep that valley will run.
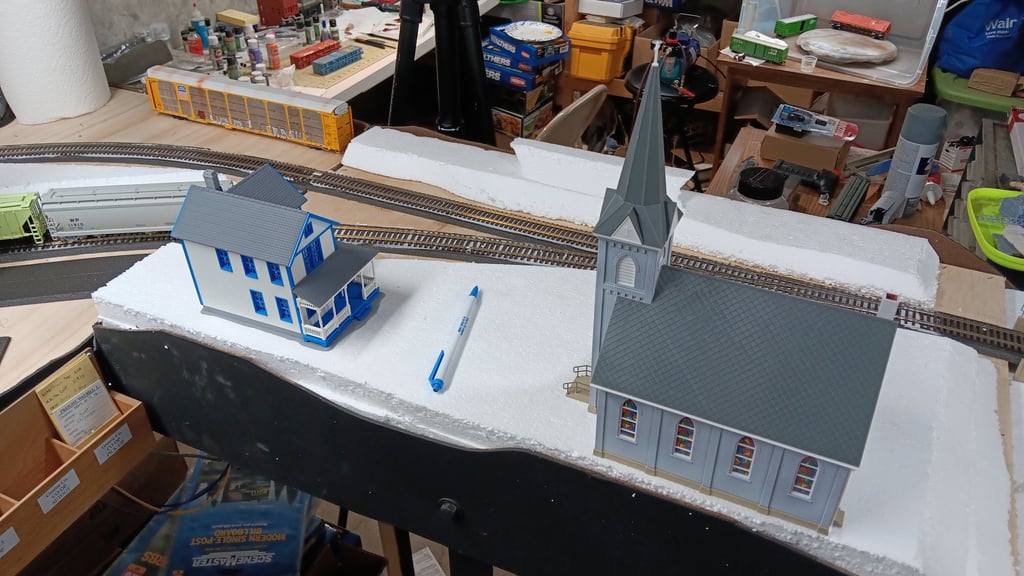
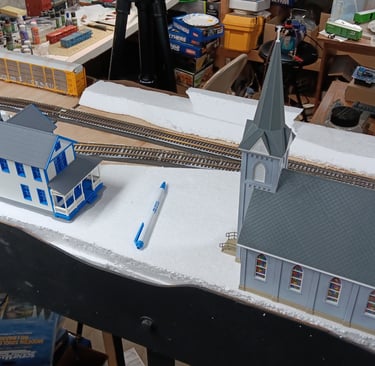
The Civil Engineering portion of the hobby presents itself more obviously. I have to think about why this hill is here, or that dip is there. How wind and water might have shaped the land before the railroad cut the right-of-way as flat as possible. It's important to remember that our model buildings will probably blend better if they have a flat spot to sit on, even if the surrounding land is curvy and sloped. So I placed my buildings in their proper positions and traced a line around their base.
You might notice in my photo that I'm using white styrofoam. That's right, I go against the grain. I'm usually in the minority when it comes to layout building. But, ultimately I follow trial and error experience from my many past layouts and models. I've found that white beadboard is cheaper and easier to cut with a hotwire foam cutter. It's not as dense, but when covering a plywood base on a narrow benchwork, it doesn't need to support a lot of weight. And the mess it makes isn't much more compared to pink or blue foam. That's what vacuums are for!
Scenery is one of my favorite aspects of model railroading. I had hoped I would be well passed this stage by now, but it's been a busy summer. My desire to have some grass covered rolling midwest hills is growing stronger. What may end up happening: I clear my schedule for a week and just spend the entire day in the basement mixing and spreading sculptamold.
Last winter, I spent some time building a photo diorama. Besides having something portable to take outside to get pictures of the latest models, I knew that a layout was in the near future. I needed to brush up on some old techniques while learning a few new ones. This way, as soon as the new layout was up and running, I could jump right into the scenery with few bumps.
Since my layout is built in four sections, I'll do the scenery one section at a time. This way, I can hopefully have one area finished, should I get too busy during the upcoming holidays. My scenery methods will be covered in detail in some upcoming videos. I just need to find time to get the footage edited. The basics, however, are to glue the white foam to the layout benchwork with foam-safe Liquid Nails. Then, cut and shape the foam with a hotwire cutter. I use cutters from both Hotwire Foam Factory and Woodland Scenics. Once I'm happy with the contours, I'll airbrush the rails a "rail brown" acrylic color from the side. I'll airbrush the ties spraying from high overhead a light gray color. Then I'll hand paint random ties different colors of tan, black, and brown. While this is a tedious process, the effect is worth the effort! That is one of the advantages to building a smaller layout; being able to focus on smaller details like that.
Two weeks in to having a website. I'm happy with the traffic that it's been getting. I've been making notes as ideas pop in my head about different content to publish. Slowly, I'm typing and updating the various pages. It's my hope to build the website out with a wide assortment of information on railfanning and model railroading. It's difficult to come up with new and fresh information that otherwise hasn't been publish to the web by someone else already. So I will stick to sharing useless anecdotes, my perspective on the hobby, local area specific information, and details about my personal layout. My plan is to post a blog here around the first of each month, unless a 2nd Section is warranted.
Calling All Train Fans!
Model railroaders and railfans connecting through railroad related content.
© 2024. All rights reserved.