December 2024 Layout Update
The latest activities on the St. Marshall Sub.
Steven H.
12/8/20244 min read
I feel like I've been able to get a lot done on the layout since my last blog post. It's starting to really look like a layout, not just Plywood Central. I had my first visitor the other day. Up to this point, no one from outside my household had been down to see what I was working on. First timers get a souvenir coin commemorating their visit. My basement is so small, I know I won't be able to host large open houses. So, I'll invite visitors over in limited groups, to avoid having crowds outside sitting at the picnic table waiting for their turn.
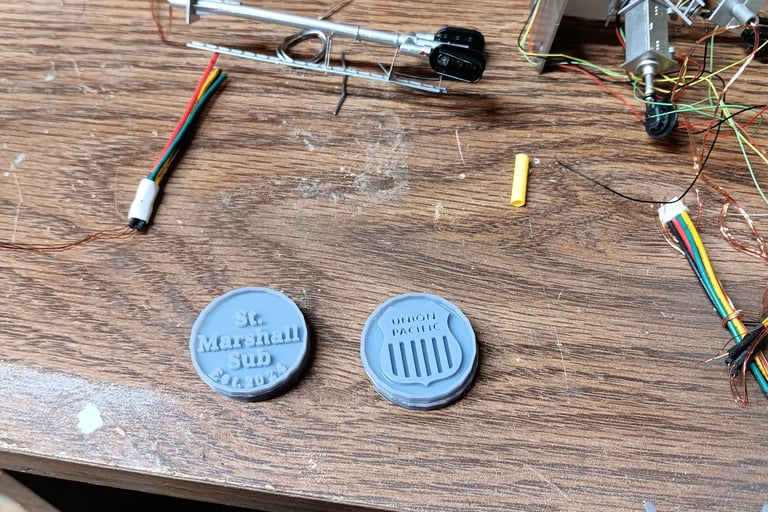
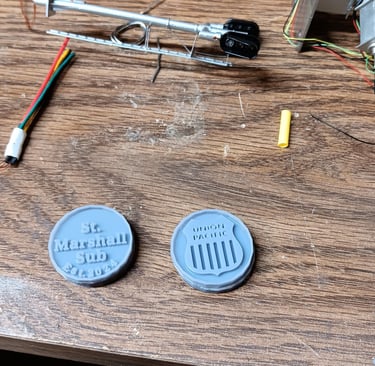
I created the design with TinkerCAD, and printed the coin as two halves, then glued the halves together. These will get painted various colors.
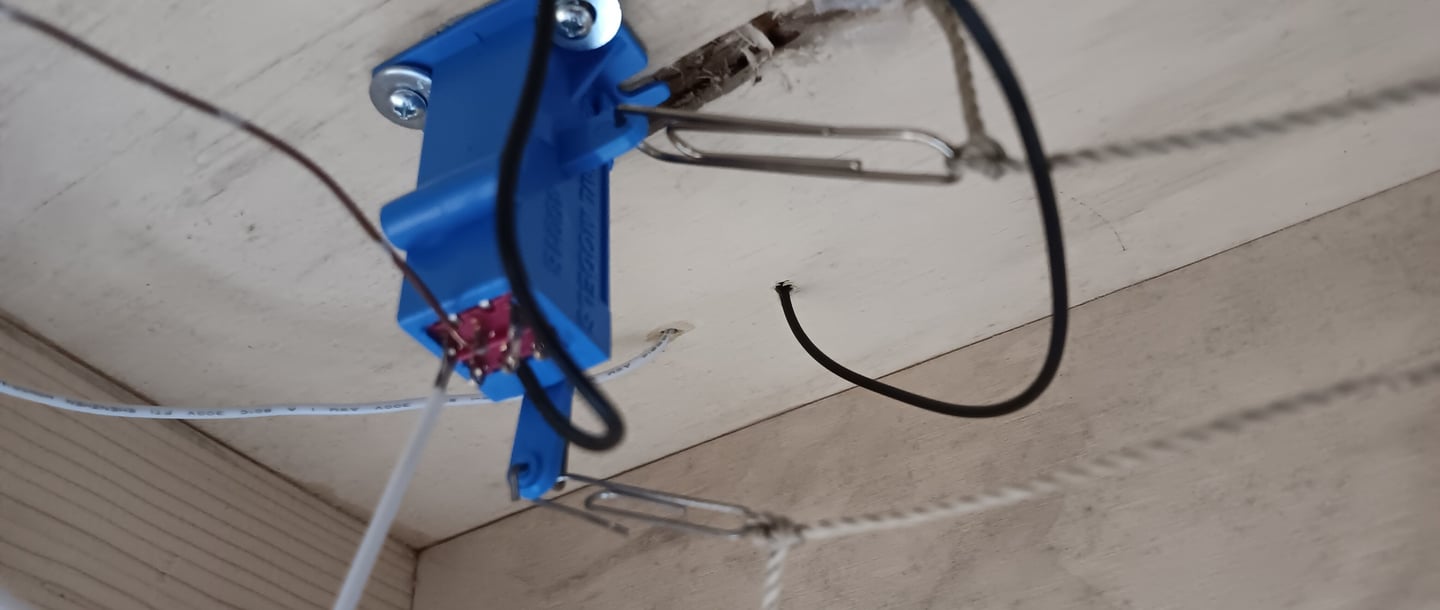
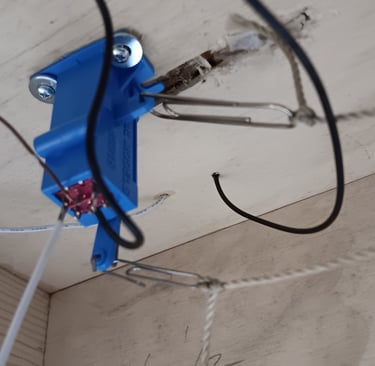
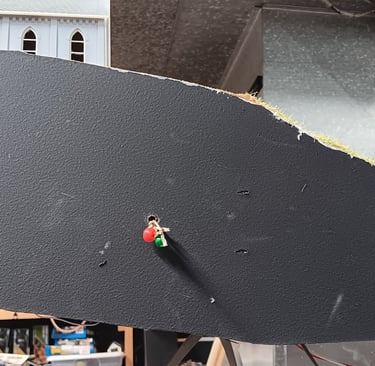
I got a couple of the Blue Point switch machines installed. These are small manual switch throws. I don't want to touch my track any more than necessary. I know a lot of people like switch points with springs that they can flip with their finger. But, I know from experience that's a good way to damage fragile details. They make a push rod linkage kit for these machines. But the inside of my layout is so narrow, I didn't want anything protruding that could get caught and damaged. My solution was to use string, some paper clips, and red and green plastic beads my daughter had in her craft box.
A simple tug on the string; red to throw the switch for the spur, green for the main, will toggle the points.
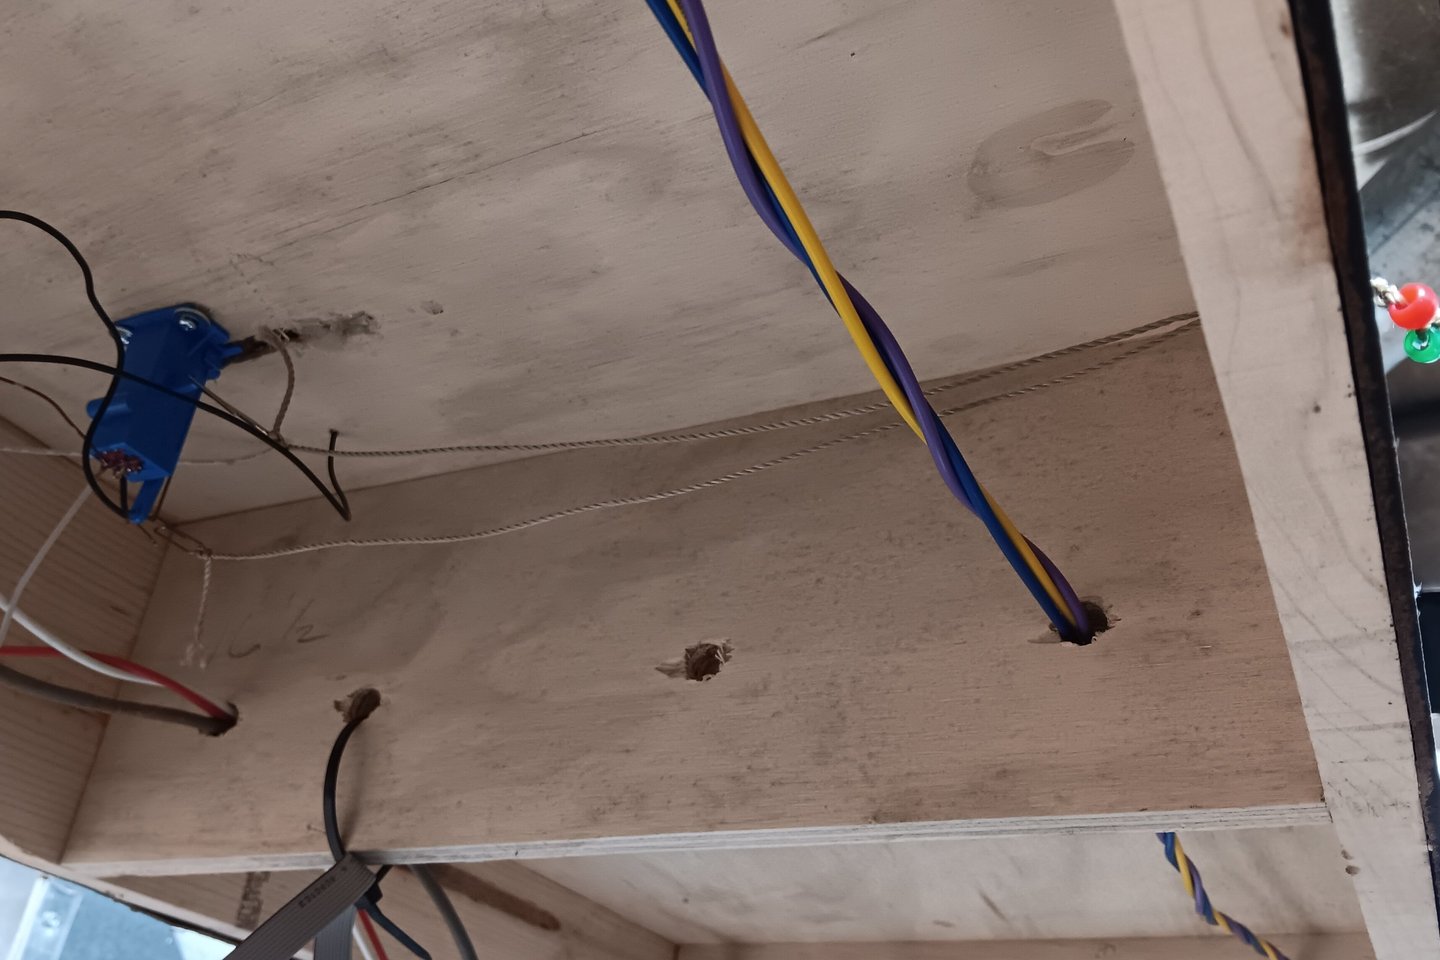


The Blue Points have a built in DPDT toggle switch. I'm using the contacts to both power the frog, and to ground a resistor across the track detection. This way the signal system will "see" some kind of occupation, and drop the signals to red if a switch if left open.
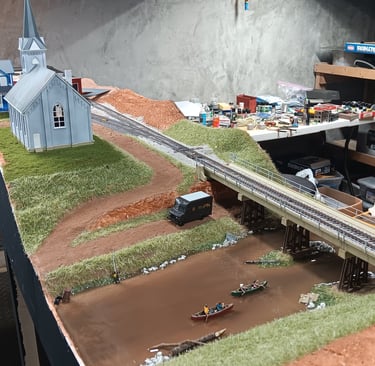
Moving to the top of the layout, I was ready to pour the Woodland Scenics Realistic Water. I used this on a previous diorama, and really liked how easy it is to work with. I was just about to pour it in my riverbed, when it dawned on me how cool it would be to have a variety of junk lining the banks. So back to TinkerCAD I went, and created some tires, barrels, a couch, and an old shopping cart. I glued these down, then poured the water. I covered the river with some foil so dust didn't fall and contaminate the surface.
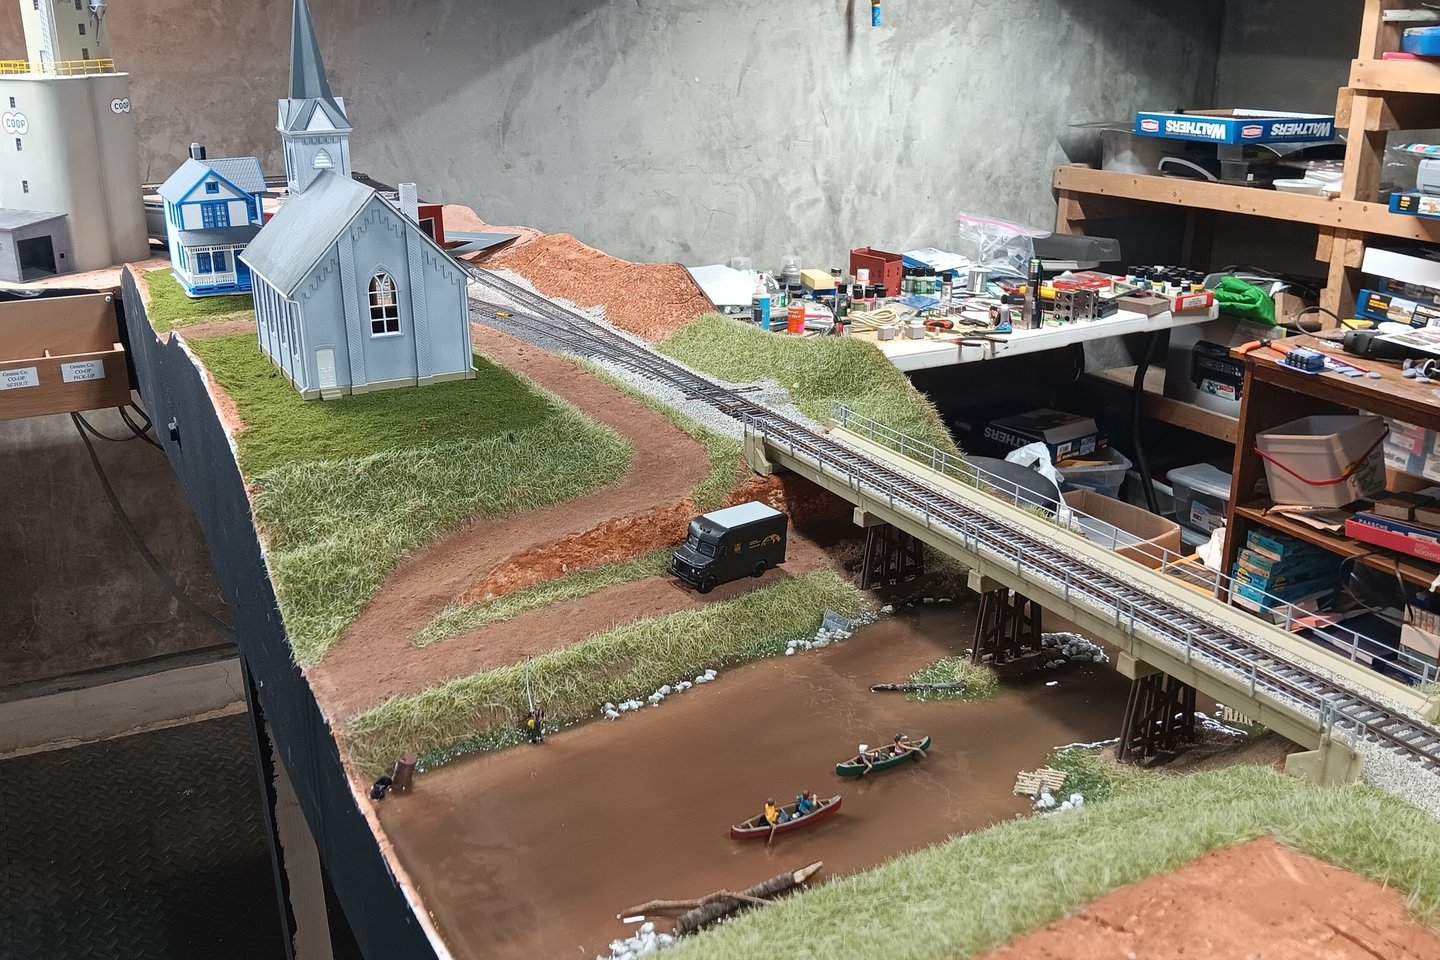
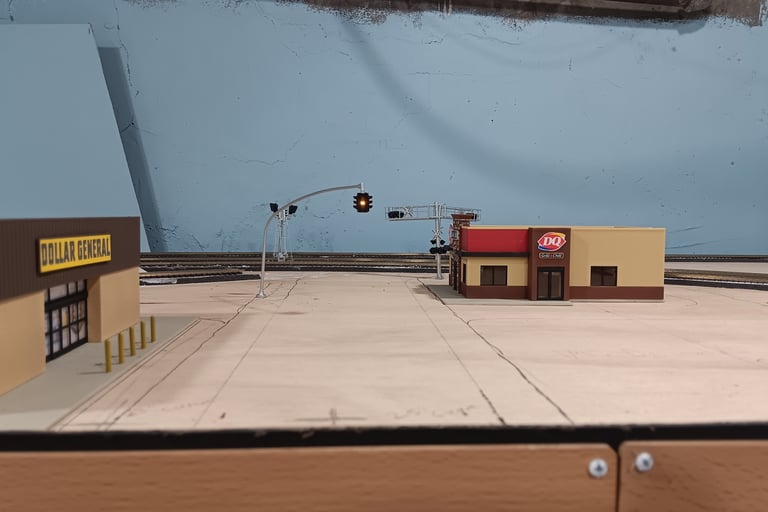
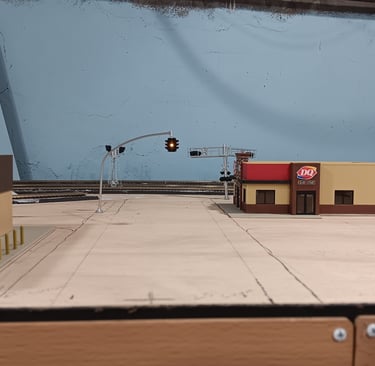
While the water was drying (about 3 days), I put a little effort into the main street city scene. The traffic lights are a neat touch. I'll work on the crossing lights next week. I had to position the buildings so I could mark out the road, and get the traffic light in the right spot. I want the buildings to sit at the same height as the track, so the next step is to lay some foam core board, before adding the styrene road.
The goal is to have working crossing gates at the crossing. I have a sample crossing gate that I 3D printed as a test. It shows promise, so I'm confident that will happen down the road. I still have one building kit to finish (Walthers Gas Station) for the city scene. And the office building for the Brenntag industry. And the yard office tower. And the turntable bridge. And the engine service kit. All said and done, my layout will be the poster-child for Walthers Cornerstone! But they make some really good kits.
My wife came down to the basement to chat last night. While down there she was taking notice of all the little details are the river. It was at that point it dawn on me, I'm at the point where I feel like I have something to show that people, even non-railroad people, would have an interest in seeing. I will probably start posting more photos on my Signal Up Facebook page. I can use the finished scenes to photograph new equipment. And as new scenes are completed, I'll have more locations to share in these photos!
I hope you have a Merry Christmas, and I look forward to updating you more next year!
Calling All Train Fans!
Model railroaders and railfans connecting through railroad related content.
© 2024. All rights reserved.