
Trying my hand at oil paint
I weathered a freight car with oil paint for the first time!
Steven H.
8/15/20241 min read
I'm not the best at anything in model railroading. I just enjoy doing it. However, I feel like I am good enough, and that's really all I need to be. There are times, I do need to get out of my comfort zone and try something new. After all, I don't want to risk getting bored!
My normal process for weathering a freight car is to dry brush some acrylic paint of various earth tones and general grime to obvious areas, then airbrush more acrylic to other areas that seem appropriate. I might add a layer of dullcote or glosscote, add some graffiti, either hand-painted or decals, more clear coat, then finish off with some Pan Pastel chalk. If the car might be handled, I may add one last layer of dullcote to seal it all in.
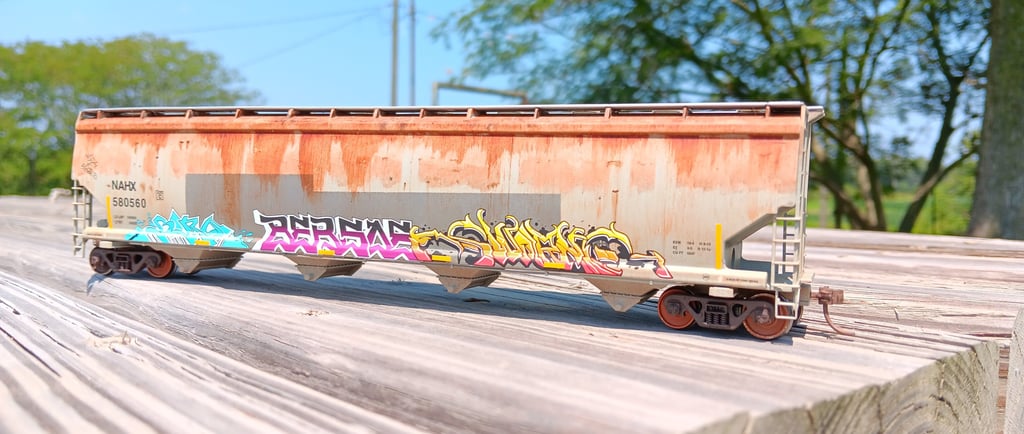
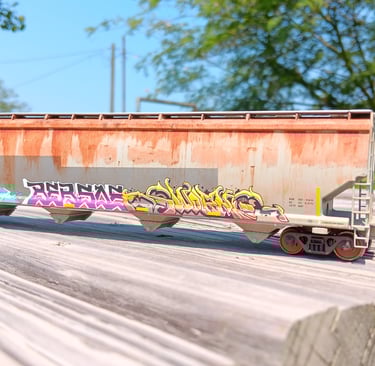
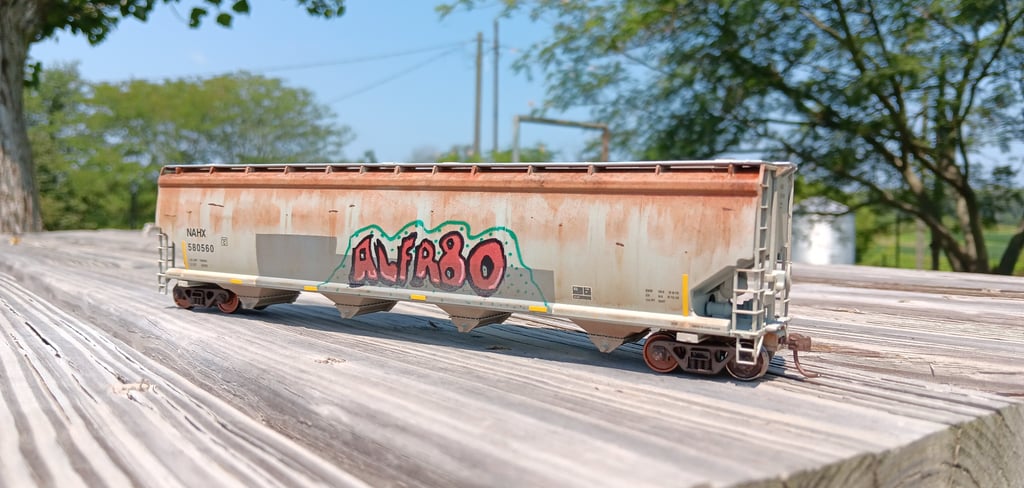
I recently bought this Walthers NSC 6200 Plastic Pellet hopper from a friend. I was getting ready to give it "the treatment" when I noticed the Burnt Umber oil paint on my bench staring at my with sad puppy-dog eyes, just begging to ooze out. So I took the plunge. Thankfully, there are plenty of other videos already on YouTube demonstrating the process. So I spent about an hour clicking through videos, absorbing their knowledge. This alone saved me a bunch of trial and error. But since oils take a lot longer to dry (and I'm not very patient), I saved it for last. I did this on my last day of the weekend, so the paint for dry enough during my work week.
I was very pleased with how easy it is to get the rust streaks with oils, streaks I never could get before with acrylics. One last spray of dullcote and I put the couplers and trucks back on. While I may stick with my normal method for the lightly weathered cars, oils will definitely see a lot more use on the old rust buckets that make you want to get a Tetanus shot just looking at it!
Calling All Train Fans!
Model railroaders and railfans connecting through railroad related content.
© 2024. All rights reserved.